our organization can sync your Microsoft SharePoint and Teams files to a folder on your computer. This lets you work directly in File Explorer and access files even when you're offline. And when you go back online, any changes made to those files will sync automatically.
Set up syncing
-
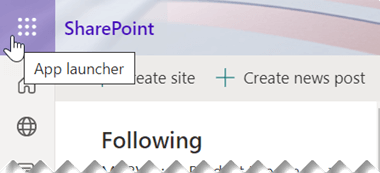
Near the upper left corner of the browser page, select the Microsoft 365 app launcher:
-
From the menu that opens, select SharePoint or Teams, and then select the site with the files you want to sync.
-
Select Documents or navigate to the subfolder you want to sync.
-
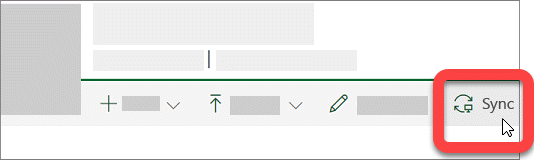
Select Sync. (You only need to do this once on a computer to set up syncing on that computer. After you set up syncing, the files sync automatically.)
-
If your browser requests permission to use "Microsoft OneDrive," confirm that this is okay.
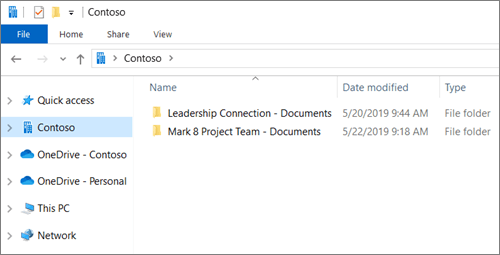
The files then sync to a folder on your PC that has the name of your organization (for example, %userprofile%\Contoso). This folder is automatically added to the left pane in File Explorer. You can’t select to sync to a different location.
5. To sync the files on another computer, go to that computer, and follow these steps again.
Change sync settings
To change the folders that sync for a site, or to stop syncing all files on a site, follow these steps:
-
Select the blue OneDrive cloud icon in the Windows taskbar notification area.

(You may need to select the Show hidden icons arrow
 next to the notification area for the OneDrive icon to appear. If the icon doesn't appear in the notification area, OneDrive might not be running. Select Start, enter OneDrive in the search box, and then select OneDrive in the search results.)
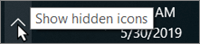
-
Select
 > Settings.
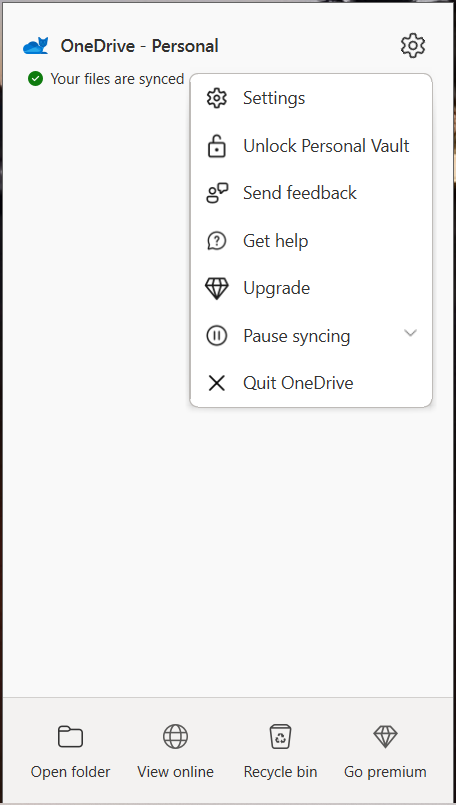
-
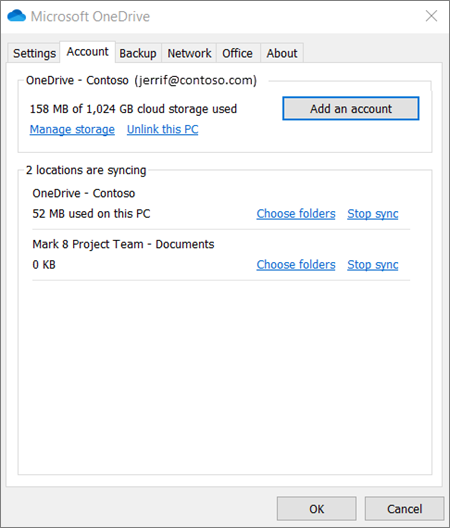
To see a list of all your syncing sites, select the Account tab.
-
To change the folders that you're syncing, select Choose folders for that library, and then select the folders that you want to sync. To stop syncing a site, select Stop sync next to the site. (Copies of the files remain on your computer. You can delete them if you want.)
Comments
Please sign in to leave a comment.